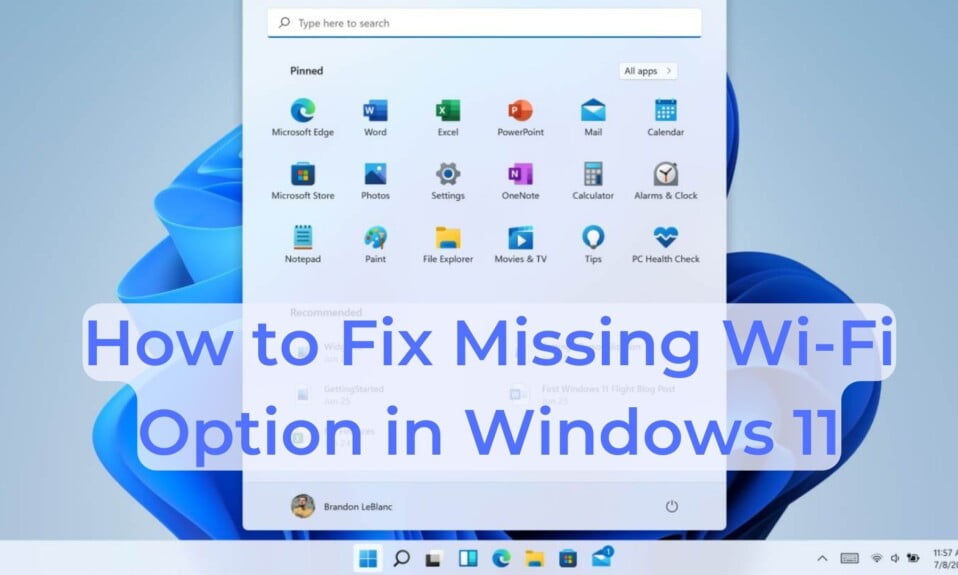
Are you unable to find your WiFi connection, although your hotspot or WiFi router is turned on? Is your WiFi option in Windows 11 missing? Well, you are not alone. Due to various reasons, your Windows 11 computer may not show a Wi-Fi option at all. Incorrect Wi-Fi drivers, hardware malfunctions, and even Windows OS issues may be to blame.
As a result, you may notice a lot of Wi-Fi disconnects. Assuming that is the case, follow these steps to see if you can get Windows 11 Wi-Fi to work again.

Why is WiFi Not Showing in Windows 11?
The WiFi option not showing on Windows 11 is most likely due to corrupted drivers. Further, in order to fix this issue, you should check out the services and components of your wireless adapter.
The Internet appears to have become a necessity as the number of users grows exponentially each year. We spend the majority of our waking hours online, whether it’s to check social media, read the news, shop on e-commerce sites and apps, or do our jobs.
When it comes to connecting to the internet, a lot of us rely on Wi-Fi. Wi-Fi icon disappears from system tray, Settings, or Control Panel if it’s not there. Windows 11 doesn’t have a WiFi option, which has been reported by many users.
Untold numbers of Windows 11 users have expressed dissatisfaction with the lack of a network adapter in their operating system. We’ve outlined everything you need to know about these issues and the best practices for resolving them in the sections below.
Unfortunately, it is quite difficult to pinpoint the exact cause of Wi-Fi issues because there are so many possibilities. The following is a list of the most common reasons for this problem:
- There are WiFi adapter or driver issues.
- There are some applications that are conflicting with WiFi on your Windows 11 PC.
- Corrupt OS or an incomplete Windows update.
- Misconfigured settings.
If there are driver issues or an incomplete Windows Update, you can easily fix the WiFi not showing issue using an outstanding tool, known as DriverEasy. This tool will diagnose the corrupt drivers and update them even when your PC is unable to identify them. Therefore, it is recommended to download this tool and try it to fix most of your PC issues.
How to Fix a Missing Wi-Fi Option in Windows 11?
Make sure the Wi-Fi on your Windows 11 device is activated if you don’t see your WiFi network. In some cases, this could be a switch, a setting, or both. Try rebooting your modem and router as well. Rebooting the router and modem may also help troubleshoot internet connectivity and wireless network issues. If you have already tried this, start reading our guide and fix your issue.
Fix 1: Run the Internet Connection Troubleshooter
For the most common problems with computer peripherals and network devices, Windows 11 features built-in troubleshooters. Using the Internet Connection troubleshooter, you can scan your system for common WiFi issues and then fix them. Here’s how to run the internet connection troubleshooter:
- Click on the Start button and search for Troubleshoot settings and press Enter.
- Now the third option on the new window is Other Troubleshooters. Click on that.

- Now, find the Internet Connections option and click on Run beside it.

- The troubleshooter will start running and hopefully detect the problems that are causing the WiFi not showing issue on Windows 11.
Once the troubleshooter has detected the problem, you will need to follow on-screen instructions to fix it. After that, restart your PC and you are good to go. However, sometimes, when the problems are critical, this fix will not resolve your issue. For that, read out the next fix.
Fix 2: Run the Network Adapter Troubleshooter
Sometimes the problem is not about the internet connection but about the adapter. The adapter is the bridge that connects your PC to the router and helps to transfer packet data. Running the network adapter has helped most of our users fix the WiFi options unavailable issue. Follow these simple steps to the same:
- Click on the Start button and search for Troubleshoot settings and press Enter.
- Now the third option on the new window is Other Troubleshooters. Click on that.

- Locate Network Adapter and click on Run beside that.

Again, this will take some time and find out the potential problems that are causing WiFi issues. Finally, follow the on-screen instructions to fix it.
Fix 3: Enable the WiFi Adapter
On the off chance, the WiFI adapter on your PC may be disabled and the main culprit behind WiFi not showing error. As a result, enabling the WiFI adapter is a workable solution. Follow these simple steps to enable it.
- Click on the Start button and search for Control Panel.
- When the Control Panel opens, click on Network and Internet.

- After that, go to Network and Sharing Center.
- Next, go to Change adapter settings from the left panel.

- Now you will be able to see all the installed network devices on your screen.
- Finally, right-click on the WiFi adapter you are using and select Enabled if you see it is disabled.

If you notice that the WiFi adapter is already enabled, click on Diagnose. Once you click on the Diagnose button, Windows will start checking the issue and then recommend a potential. 
Although this is similar to the troubleshooter we have explained earlier, Diagnose option is a more viable option as this recommends more accurate things. Finally, click on Apply to fix the problem. However, if this option doesn’t help move on to the next fix.
Fix 4: Update the Network Drivers
Your PC may not have the most current network drivers if you recently upgraded. Wi-Fi connectivity can also be disrupted by corrupt or faulty network adapter drivers. This issue can be resolved by installing the most updated version of network adapter drivers. Follow these simple steps to update the network drivers.
- Right-click on the Start button and click on Device Manager.
- Next, in the Device Manager window, look out for Network Adapters and expand it.

- Right-click on the WiFi device and click on Search automatically for drivers.
- Windows will now start looking for drivers online and installing them automatically.

Now when the update is finished, restart your PC and check if the WiFi option is now visible and working. If not, follow up with the next fix.
Fix 4: Reset the Network on Windows 11
If the WiFi is still not working, don’t worry. Windows 11 offers an in-built feature to perform a network reset that can fix the WiFi option not available error for sure. This process usually removes and reinstalls the networks drivers and adapters.
Furthermore, other networking components will reset to their factory default settings and fix your problem. Follow these simple steps to reset the network:
- Click on the Start button and open Settings.
- In the Settings window, from the left pane, click on Network & Internet tab.
- Scroll down a bit and you will find the More Settings section. From there, click on Network Reset.

Once the reset is complete, your PC will restart and your WiFi should be working normally. If not, there’s a problem with the OS itself. You will need to repair Windows 11 using DISM commands. Another thing you can try is, updating your Windows 11.
Fix 5: Update Windows
Sometimes a Windows update is full of glitches that can cause several errors including the WiFi option being disabled or unavailable. Therefore, updating Windows is probably the best option to get things fixed. Follow these simple steps to update Windows:
- Click on the Start menu and open Settings.
- Now from the left panel, click on Windows Update.
- Click on Check for Updates and Windows will start checking for updates. Alternatives, if an update is already downloaded and waiting for installation, click on Restart Now.

- Now Windows will restart several times and the update will get installed.
When everything is complete, turn on WiFi and check. It should be fixed by now. Several factors can cause Wi-Fi in Windows 11 to stop working. However, the built-in network troubleshooter often fixes the problem. The network drivers should also be reinstalled or updated in order to resolve the issue.
The Wi-Fi card should be checked if the system still refuses to connect to your network. Either get a new Wi-Fi card or use a plug-and-play Wi-Fi dongle to fix a broken one.
Well, that’s all we have here about how you can fix the missing WiFi option on Windows 11. We hope this guide helped you. Make sure to check out how to Increase Your Internet Speed on Windows 11 if you are suffering from slow internet.


