
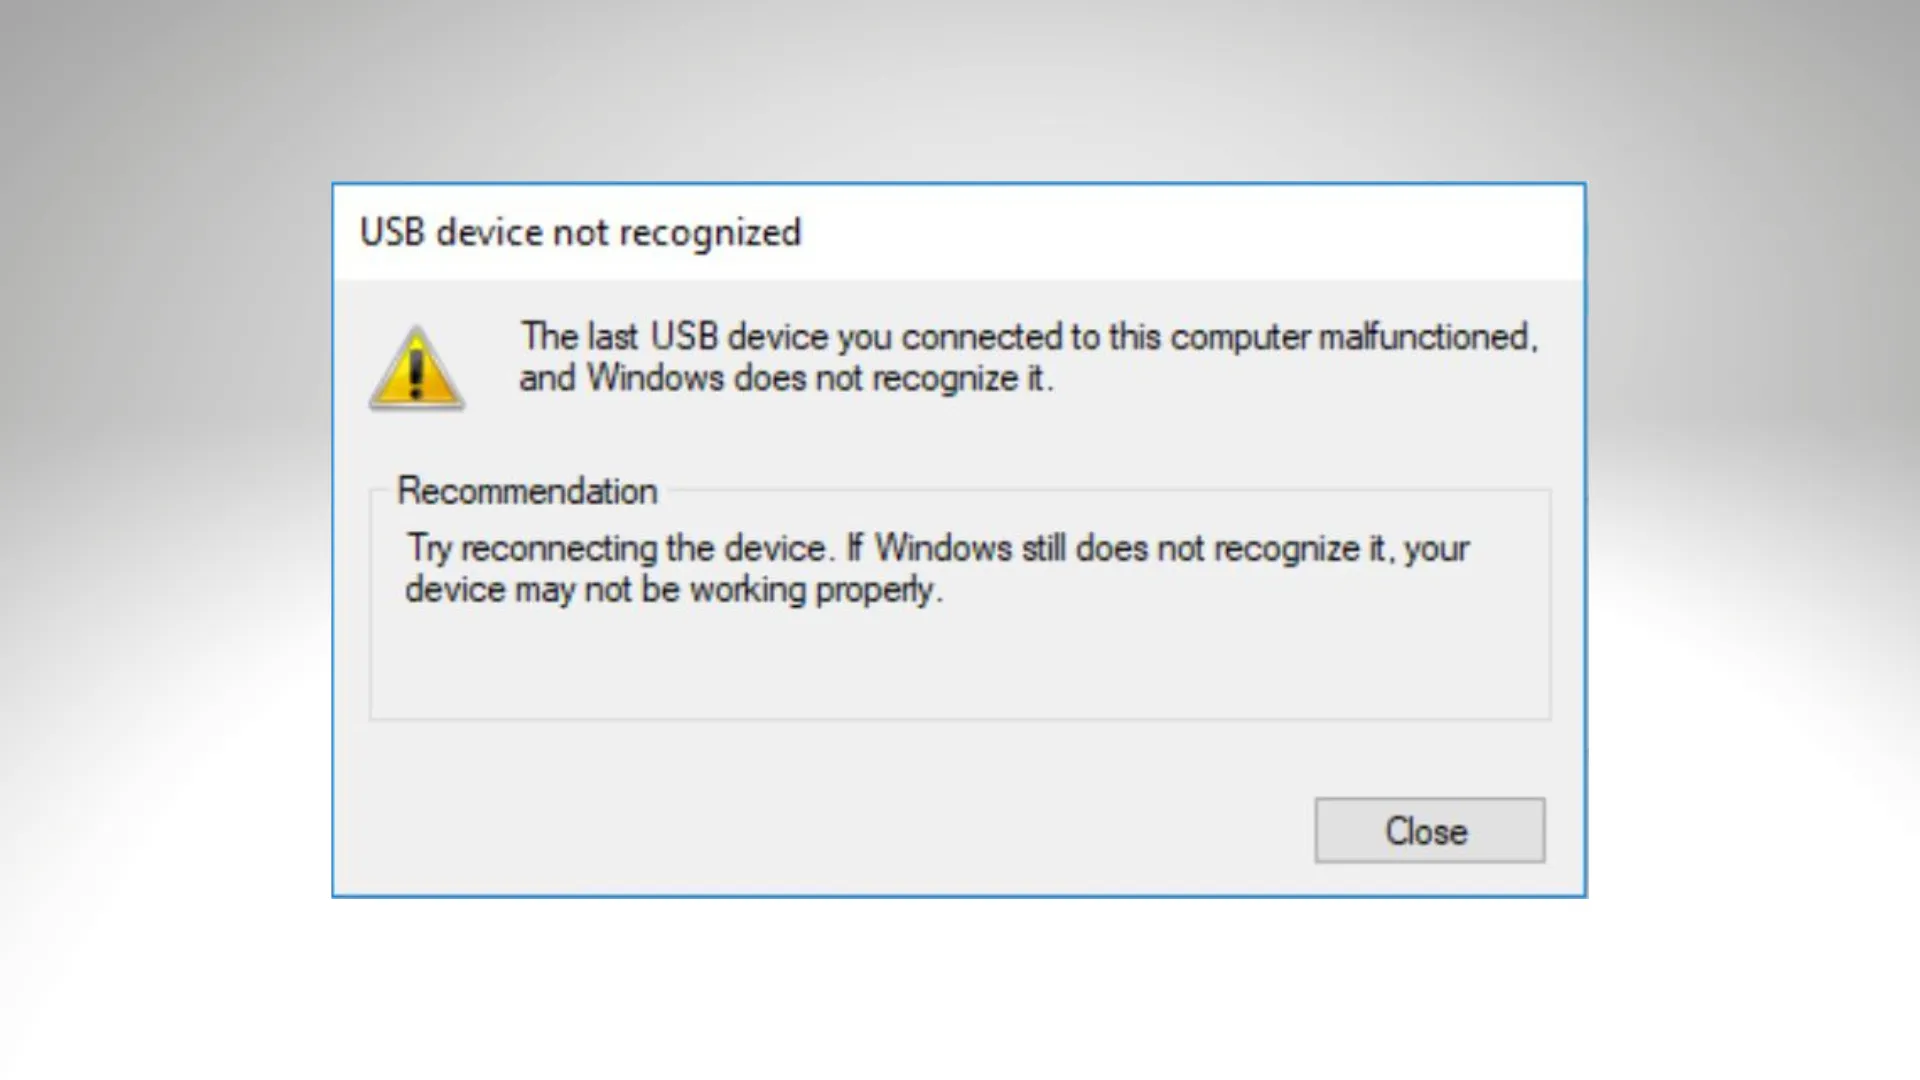
When Windows fails to recognize a USB device connected to the computer, it displays the following error message: The Last USB Device You Connected to this Computer Malfunctioned
The only conclusion that can be drawn from this error message is that the USB device that the user experiencing this issue most recently connected to their computer has malfunctioned and is not performing as it should.
This issue renders any USB device it affects unusable, and being unable to use a USB device connected to your computer is unquestionably a major issue.
How to Fix The Last USB Device You Connected to this Computer Malfunctioned?
This problem is not limited to a single version of Windows; it has been reported to affect users of all currently supported versions of Windows. This problem is certainly perplexing, but that doesn’t mean it can’t be resolved.
However, if you want to Recover Deleted Files From USB Flash Drive make sure to check out Sfware Data Recovery. This is one-of-a-kind software and makes data recovery extremely easy and efficient.
The following are some of the most effective solutions that any Windows user who is experiencing this issue can use to try to resolve the issue and use the affected USB device successfully:
Fix 1: Disconnect and then Reconnect the Affected USB device Multiple Times
First and foremost, the simplest possible solution to this problem is to disconnect and reconnect the USB device that is causing the issue with your computer.
In many cases, the error message “The last USB device you connected to this computer malfunctioned” is only temporary, and repeatedly disconnecting and reconnecting the affected USB device clears the error message and allows the USB device to successfully interface with and work with the affected computer.
Furthermore, it may take several tries to get this solution to work, so disconnect and reconnect the affected USB device at least a dozen times.
Fix 2: Power Cycle Your PC
- Remove the USB device from your computer that is affected.
- Turn off your computer.
- Unplug your computer’s power supply cord.
- Wait for about 2 minutes, which should be enough time for any residual charge on the computer and its hardware to dissipate.
- Reconnect the power supply cord to the computer.
- Start your computer.
- Connect the affected USB device to the computer when it starts up to see if the problem has been resolved.
As reported by most of the users, performing a power cycle fixes The Last USB Device You Connected to this Computer Malfunctioned error. However, if this doesn’t seem to help, follow up with the next fix.
Fix 3: Disable USB Selective Suspend
USB selective suspend is a feature that comes standard with Windows and is enabled by default.
The USB selective suspend setting can cause USB devices to malfunction and fail to be recognized by Windows in some cases, which is why disabling this feature is a good idea if you’re having this problem. To turn off the USB selective suspend feature, do the following:
- Start by opening the Start Menu.
- Look up “power options” in the search box.
- Select Power Options from the search results.
- Click Change plan settings, next to the power plan that is currently active on your computer.
- Next, click on Change advanced power settings.
- In the USB Settings section, click on USB Selective Suspend to expand it.
- Change the setting to Disabled in as many instances as there are under the USB select suspend sub-section (in the case of laptops, there may be two instances – On battery and Plugged in).
- After that, click on Apply followed by OK.
- Next, click on Save Changes.
Finally, restart your PC and check to see whether The Last USB Device You Connected to this Computer Malfunctioned error has been fixed or not.
Fix 4: Disable and Re-enable the Generic USB Hub device
Disabling and enabling the Generic USB Hub Device fixes The Last USB Device You Connected to this Computer Malfunctioned error a lot of times. So this makes it worth a try. Follow these steps to disable and re-enable the generic USB hub.
- Press the start button and search for Device Manager in the search box.
- Now, expand the Universal Serial Bus Controllers and double click on USB Root Hub.
- Switch to the Drivers tab and click on Uninstall.
- Restart your computer and the driver will be installed again automatically.
Check whether USB is now working normally.