Windows 11 is now available officially. Microsoft unveiled its new operating system 2 years back at a special event, with a major redesign and native support for Android apps among the most notable changes. However, there are some requirements your PC needs to meet before being eligible to download and install Windows 11.
A CPU that supports a TPM 2.0 module is one of those pesky requirements set by Windows 11. TPM 2.0 was released in October 2014, so it excludes a lot of older hardware.
Microsoft’s ‘PC Health Check’ app, which tells you if your device is compatible with Windows 11, has been updated and is now available on the Windows 11 website. However, it’s possible that it will say your computer isn’t compatible even if TPM 2.0 isn’t enabled.
This can be changed by going to your device’s BIOS (or UEFI) settings. The most common way to access them is to hold down Esc, Del, or a function key (often F2) while the device is turning on, with the TPM option usually described as ‘PTT’ or ‘PSP fTPM’.
However, don’t rush out to buy new hardware if you don’t have a TPM 2.0 processor. There is a way to get around it, as well as the 4GB RAM and Secure Boot requirements, but it necessitates registry changes. As a result, we strongly advise you to back up all of your files and other data first.
The hardware requirements for Windows 11 have been updated by Microsoft. Because they must meet a new set of criteria, not all Windows 10 devices will be eligible. More information can be found in our separate guide: Will Windows 11 run on my computer?

What is a TPM?
TPM is an acronym for Trusted Platform Module, a term that may be unfamiliar to you. Further, it is a security module that is typically soldered onto the motherboard in the form of a chip.
It functions as a cryptographic processor, generating hashes and storing cryptographic keys, biometric data, user data, and other data using a hardware-based approach.
Attackers can’t tamper with or access this data because the cryptography is embedded in hardware, which protects against malware, ransomware, and sophisticated nation-state attacks.
Is it Safe to Install Windows 11 without TPM?
Despite what Microsoft’s Windows 11 compatibility tool claims, installing Windows 11 without TPM is relatively straightforward. Only a few registry entries and five minutes of your time are required.
Before you do so, keep in mind that TPM 2.0 is responsible for many of Windows 11’s security features. Measured boot, Windows Hello, SecureBIO, WD System Guard, and Device Health Attestation are all part of this. You won’t have access to these features if you run Windows 11 without a TPM chip, and your data may be at risk as a result.
Related: Everything You Need to Know About Windows 11
If possible, we recommend installing a discrete TPM 2.0 module or waiting until you upgrade your hardware.
Windows 11 is likely to rely on TPM more in the future, and we can’t rule out the possibility that Microsoft will disable this bypass for PC manufacturers, although it is released now.
How to Install Windows 11 Without a TPM 2.0 Chip
This method entails creating a lab-like environment. Device manufacturers will be able to disable the TPM requirement on their version of Windows 11, therefore, you’ll be able to do the same here:
- To get the new OS now, go to the official Windows 11 download page – there are three options to choose from.
- Stick to the step-by-step guide.
- You’ll get a message that says, “This PC can’t run Windows 11” if it doesn’t meet the hardware requirements.
- To open the Command Prompt window, press Shift + F10 from this screen.
Enter the command “Regedit” - The Registry Editor in Windows will now open. Type:
HKEY_LOCAL_MACHINE\SYSTEM\Setup
into the address bar and press Enter.
- A ‘Setup’ key should now appear. Choose New>Key from the context menu when you right-click it.

- Now you will be asked to give it a name, type ‘LabConfig’, and press enter.
- Right-click on the new key you have created and choose New>DWORD (32-bit) value.

- Give it a simple name such as “BypassTPMCheck” and set the value data to 1.

- Follow the same method for ‘BypassRAMCheck’ and ‘BypassSecureBootCheck’, and set the value data to 1.

- Now close this window followed by the command prompt.
- You will now go back to the ‘This PC can’t run Windows 11’ message. Hit the back button on the top left corner.
- Now you should be able to proceed with a normal installation.
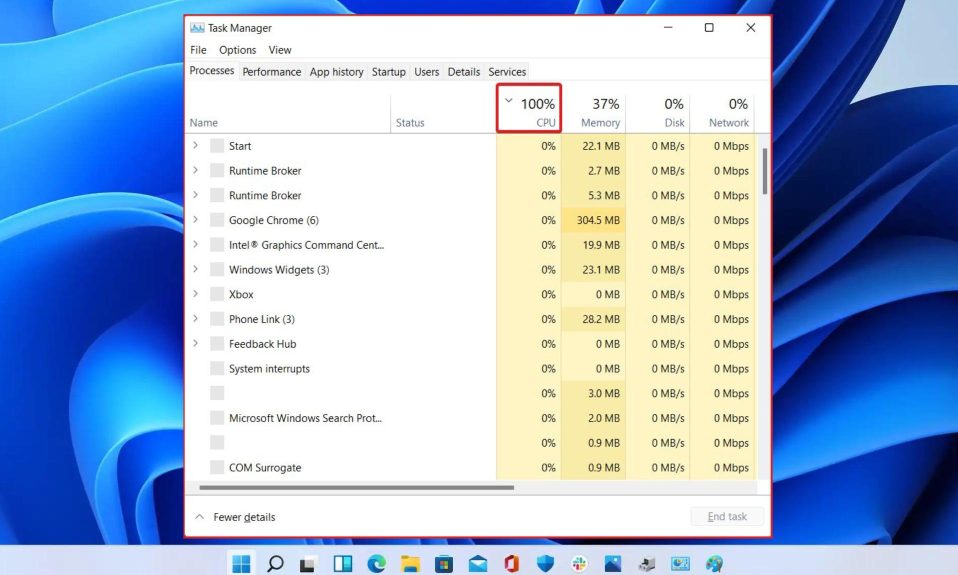
It’s worth noting that taking these steps may have an impact on your Windows 11 PC’s performance or stability. Therefore, proceed with caution, and if possible, test it on a device other than your primary PC.
The Bottom Line
We hope you found this guide helpful. We hope this guide has helped you to install Windows 11 on your PC without a TPM. If you liked this, don’t forget to check out our other explainers, best lists, and how-to guides. Furthermore, if you have any questions or suggestions, please use the comment section below to contact us.